|
Straw Bale WallsTensioning and CompressionThis week we completed the first stage of the external straw bale walls. Phew!! It has taken three weekends of work, but this home is a somewhat complicated shape. External strawbale walls can often be completed in a weekend for a simple building shape (and with plenty of labour!). 
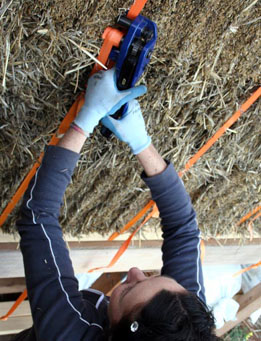
This house is designed with angled rooflines, so has intermediate boxing, which sits on top of the bales in order to be able to compress and tension them before inserting the final 'row' of bales to fit underneath the top boxing (at ceiling level). These wall are not load-bearing, only infill, and thus do not have any threaded metal rods/bars which are often used (usually in combination with a concrete slab floor) to improve lateral stability. As each section of straw bale wall is completed, the polyester strapping is pulled over the bales (with the intermediate boxing sitting on top) and then tensioned. For this another of the strawbale tools is required - a tensioning tool which simply tightens up the strapping at intervals over several days to achieve even compression. Once the walls have been compressed they act like large, strong building blocks which now just need to be connected to the framing to tie the whole building structure together.
More details next time on completing the strawbale walls.
|
Going Solar?
Want to Save Water?
Straw bale - Passive Solar Design
Thinking of Investing Green?


